
环境搭建
Lua是一个简洁、轻量、可扩展的脚本语言,但它并不是基于JVM,而是基于Nginx。
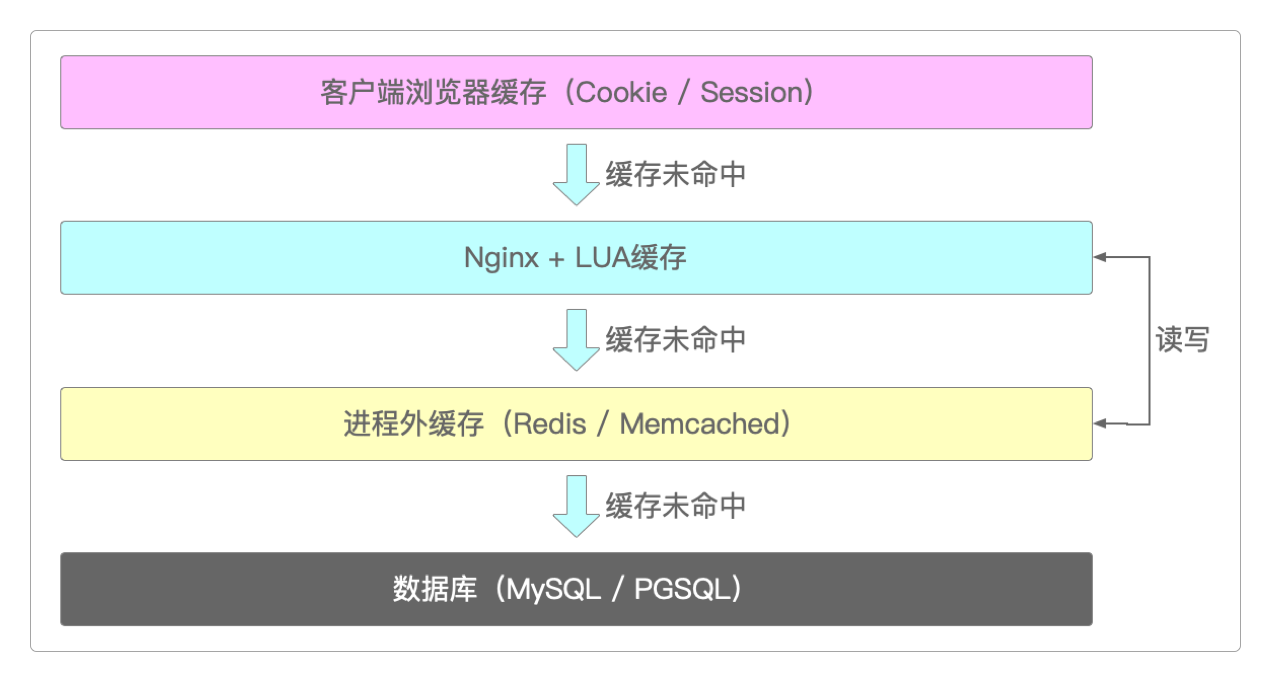
也就是说它是一个可以对Nginx进行编程,从而扩展Web应用的功能,或者对它进行某些定制。例如,在三高(高性能、高可用、高并发)突出的互联网应用中,大多数多级缓存架构中的服务端第一级就是由Nginx + Lua所组成。
安装配置
先到OpenResty下载安装包(对于Linux,官方只提供了预编译的安装包,需要下载后自己编译安装)。
这里以CentOS 9为例,官方提供了预编译安装的相关命令。
# CentOS 9或更高版本执行如下命令
> wget https://openresty.org/package/centos/openresty2.repo
> sudo mv openresty2.repo /etc/yum.repos.d/openresty.repo

# CentOS 8或更高版本执行如下命令
> wget https://openresty.org/package/centos/openresty.repo
> sudo mv openresty.repo /etc/yum.repos.d/openresty.repo

# 检查更新
> sudo yum check-update
# 安装openresty
> sudo yum install openresty -y
# 安装resty命令行工具
> sudo yum install openresty-resty -y
# 列出openresty库中所有可用软件包(可选)
> sudo yum --disablerepo="*" --enablerepo="openresty" list availableyum会把OpenResty安装到/usr/local/openresty目录中,并且它里面还自带了内置的Nginx服务器组件,所以需要把之前可用的Nginx服务停掉,然后将它的配置内容拷贝到/usr/local/openresty/nginx/conf/nginx.conf文件中。
> cd /usr/local/openresty/nginx/conf/
# openresty下的nginx.conf已经存在了一个备份nginx.conf.default,所以可以直接删除nginx.conf
> rm -rf nginx.conf
> cp /usr/local/nginx/conf/nginx.conf /usr/local/openresty/nginx/conf/之后再启动/usr/local/openresty下的Nginx服务。
# 先验证拷贝过来的配置文件是否能正常启动服务
> /usr/local/openresty/nginx/sbin/nginx -t
nginx: the configuration file /usr/local/openresty/nginx/conf/nginx.conf syntax is ok
nginx: configuration file /usr/local/openresty/nginx/conf/nginx.conf test is successful

# 配置无误,启动服务
> /usr/local/openresty/nginx/sbin/nginx为了确认是否真的启动了/usr/local/openresty中的Nginx,而不是原本的/usr/local/nginx,可以将/usr/local/openresty/nginx/conf/nginx.conf中的配置稍稍修改一下。
> vi /usr/local/openresty/nginx/conf/nginx.conf
......
server {
listen 9527;
server_name localhost;
location / {
# 把这里改成/usr/local/openresty/nginx/html,而不是/usr/local/nginx/html,其他地方不变
root /usr/local/openresty/nginx/html;
index index.html index.htm;
add_header Cache-Control "public";
add_header Access-Control-Allow-Origin *;
}
error_page 500 502 503 504 /50x.html;
location = /50x.html {
root html;
}
}
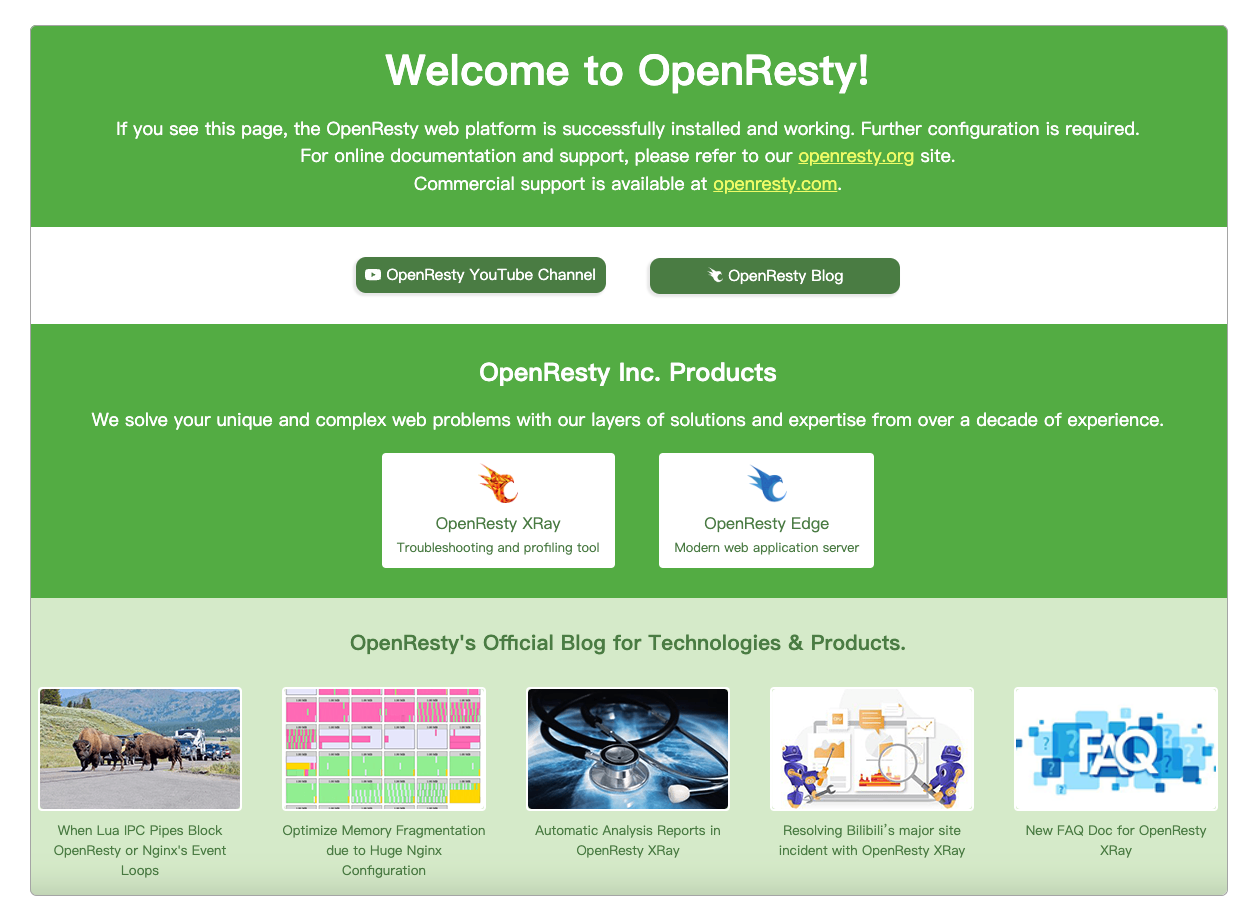
......成功启动后就能看到这个界面了。
官方同时也提供了Docker部署方式,但相对于Docker,初学阶段还是用本机安装的方式比较合适,因为会在OpenResty服务器中创建和修改大量的Lua脚本文件。
注意
后续所有相关提到nginx.conf配置文件的地方,指的都是OpenResty中的nginx.conf,也就是/usr/local/openresty/nginx/conf/nginx.conf文件,而不是/usr/local/nginx/conf/nginx.conf。
小栗子
编辑nginx.conf配置文件,添加一些内容。
> vi /usr/local/openresty/nginx/conf/nginx.conf

# http部分中添加如下内容
lua_package_path "/usr/local/openresty/lualib/?.lua;;"; #lua模块
lua_package_cpath "/usr/local/openresty/lualib/?.so;;"; #c模块

include lua.conf;然后临时在/usr/local/openresty/nginx/conf目录中创建lua.conf文件,内容如下。
> vi /usr/local/openresty/nginx/conf/lua.conf

server {
    listen 9527;
    server_name _;
    location /lua {
        default_type 'text/html';
        content_by_lua 'ngx.say("hello lua")';
    }
}或者使用content_by_lua_block的方式。
> vi /usr/local/openresty/nginx/conf/lua.conf

server {
    listen 9527;
    server_name _;
    location /lua {
        default_type 'text/html';
        content_by_lua_block {
            'ngx.say("hello lua")';
        }
    }
}
保存退出后测试配置是否正常,如果正常就重启服务器。
> /usr/local/openresty/nginx/sbin/nginx -t
nginx: the configuration file /usr/local/openresty/nginx/conf/nginx.conf syntax is ok
nginx: configuration file /usr/local/openresty/nginx/conf/nginx.conf test is successful

# 重启openresty
> /usr/local/openresty/nginx/sbin/nginx -s reload之后通过浏览器访问http://服务器IP地址:9527/lua就能看到打出来的内容hello lua。
代码组织
将Lua脚本内容直接放在lua.conf文件中会带来维护不便的问题,所以可以参照许多编程语言中对代码包package的组织方式,将配置和执行部分分离。

修改之前lua.conf的内容。
> vi /usr/local/openresty/nginx/conf/lua.conf

server {
    listen 9527;
    server_name _;
    location /lua {
        default_type 'text/html';
        content_by_lua_file conf/lua/hello.lua;
        lua_code_cache on;
    }
}在/usr/local/openresty/nginx/conf/目录中创建lua文件夹,并在其中创建一个名为hello.lua的文件,然后输入下面的内容。
> cd /usr/local/openresty/nginx/conf/
> mkdir lua
> cd lua
> vi hello.lua

ngx.say("Hello Lua from conf/lua/hello.lua")
保存退出后测试配置是否正常,如果正常就重启服务器。
> /usr/local/openresty/nginx/sbin/nginx -t
nginx: the configuration file /usr/local/openresty/nginx/conf/nginx.conf syntax is ok
nginx: configuration file /usr/local/openresty/nginx/conf/nginx.conf test is successful

# 重启openresty
> /usr/local/openresty/nginx/sbin/nginx -s reload之后通过浏览器访问http://服务器IP地址:9527/lua就能看到打出来的内容Hello Lua from conf/lua/hello.lua。
开发环境
如果开发一个Lua脚本文件需要不断地测试和重启OpenResty中的Nginx,是相当麻烦,也费力不讨好的事情,这个问题可以通过两种方式解决。
第一种方式:通过IDEA + Lua for Windows + EmmyLua插件解决(从名字就知道它只支持Windows)。
傻瓜式安装Lua for Windows,一路
next就行了。新建一个Maven项目,再新建
test.lua文件,可以通过两种方式运行它:直接单击鼠标右键,在弹出的面板中选择Run 'test.lua',或者通过Edit Configurations...的方式运行。
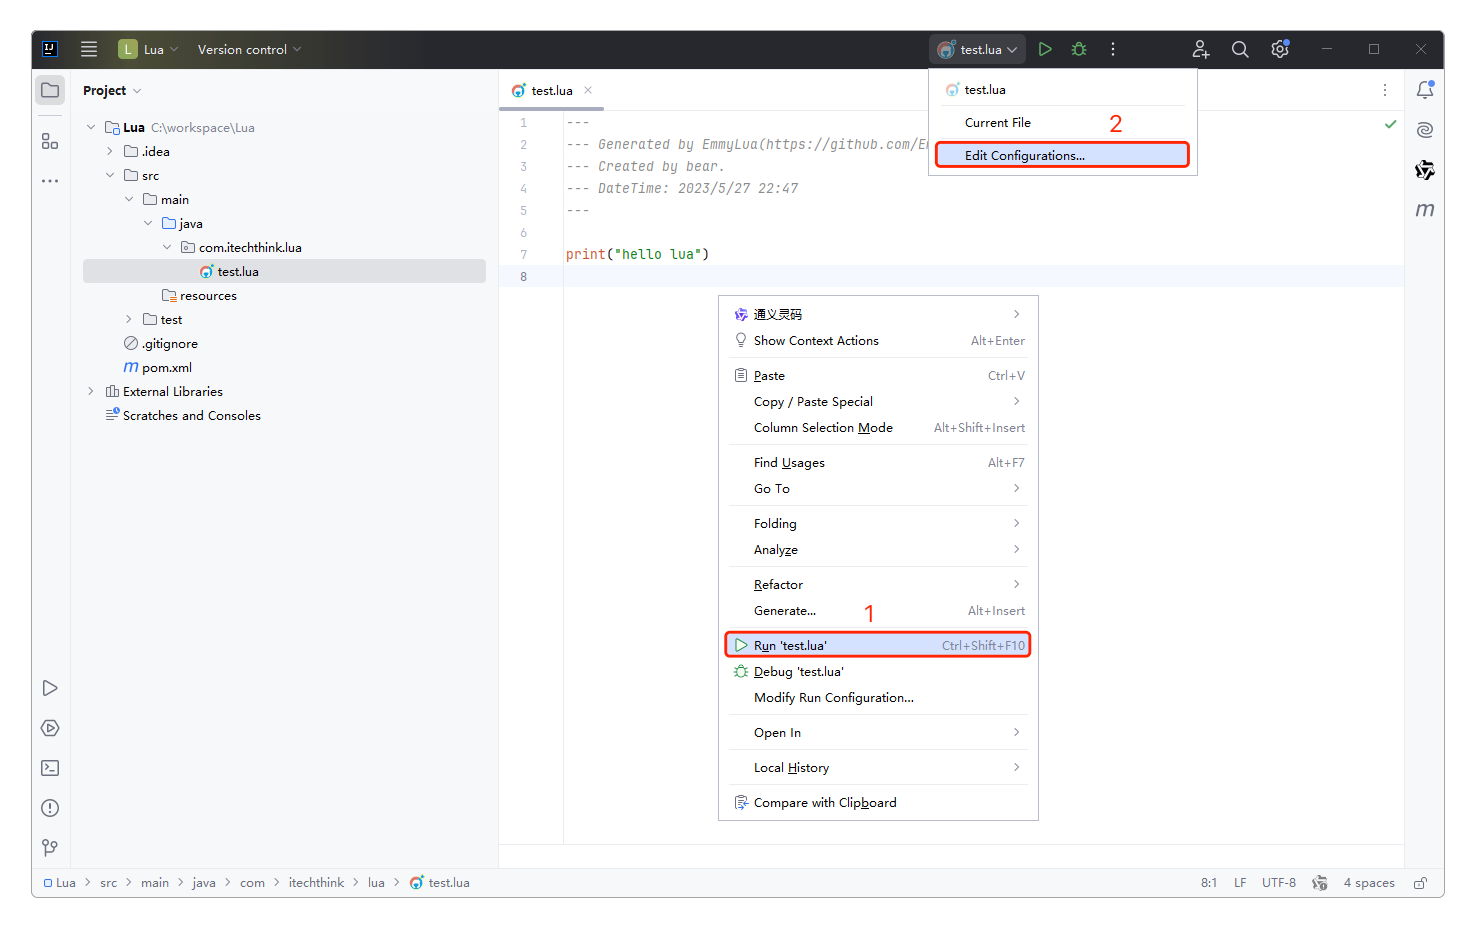
两种运行lua脚本的方式 - 如果是
Edit Configurations...的话,一般会这样配置。
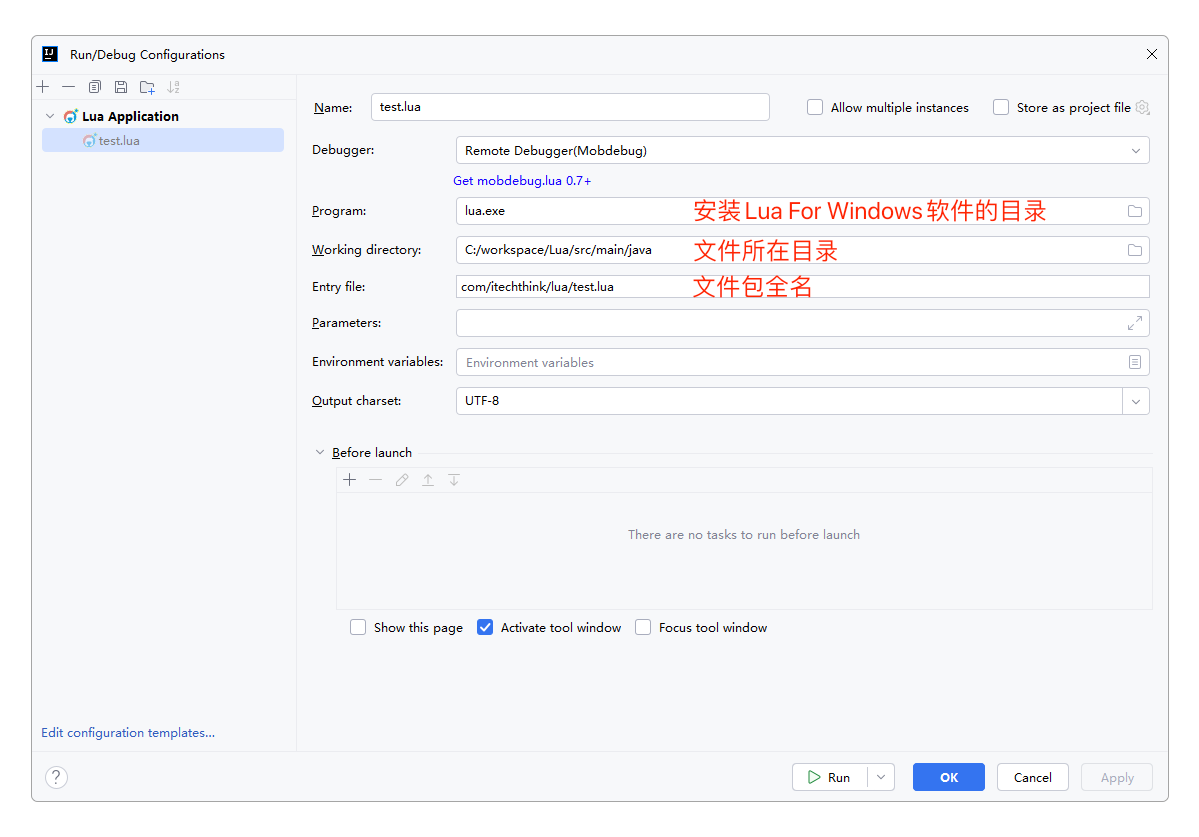
通过 Edit Configurations...方式运行第二种方式:使用ZeroBraneStudio编辑器(Windows、Linux和Mac OS它全都支持)。
在这里可以下载不同操作系统环境的安装包,下载后直接安装就行了。
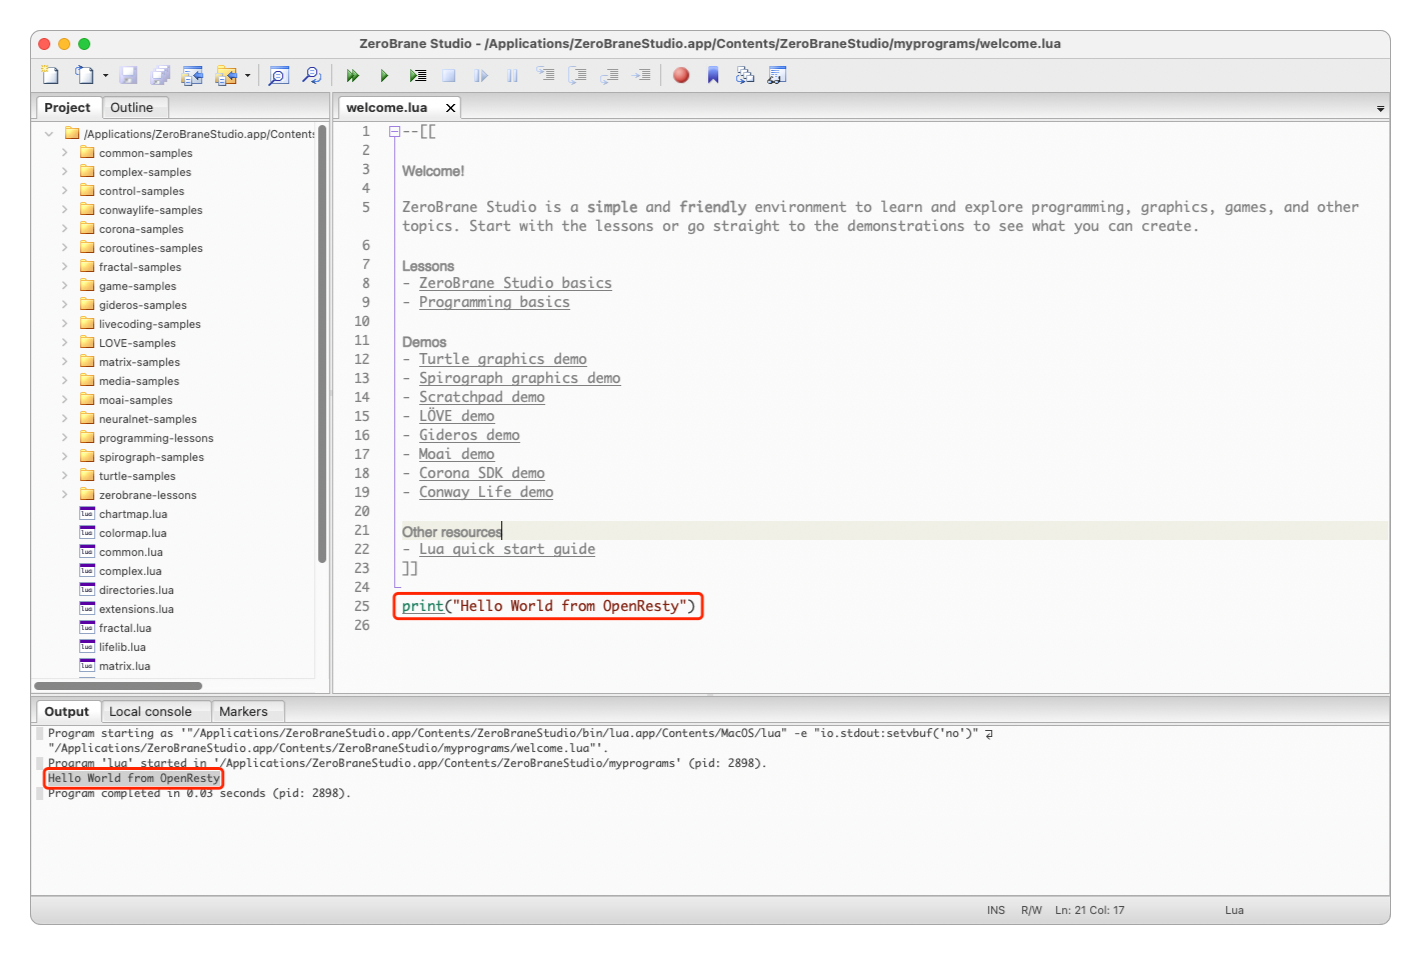
这个IDE非常小(Mac OS的安装包还不到10MB),它就是为调试Lua而诞生的。
这两种方式完全视个人习惯而定。
感谢支持
更多内容,请移步《超级个体》。